Last Updated on November 4, 2021
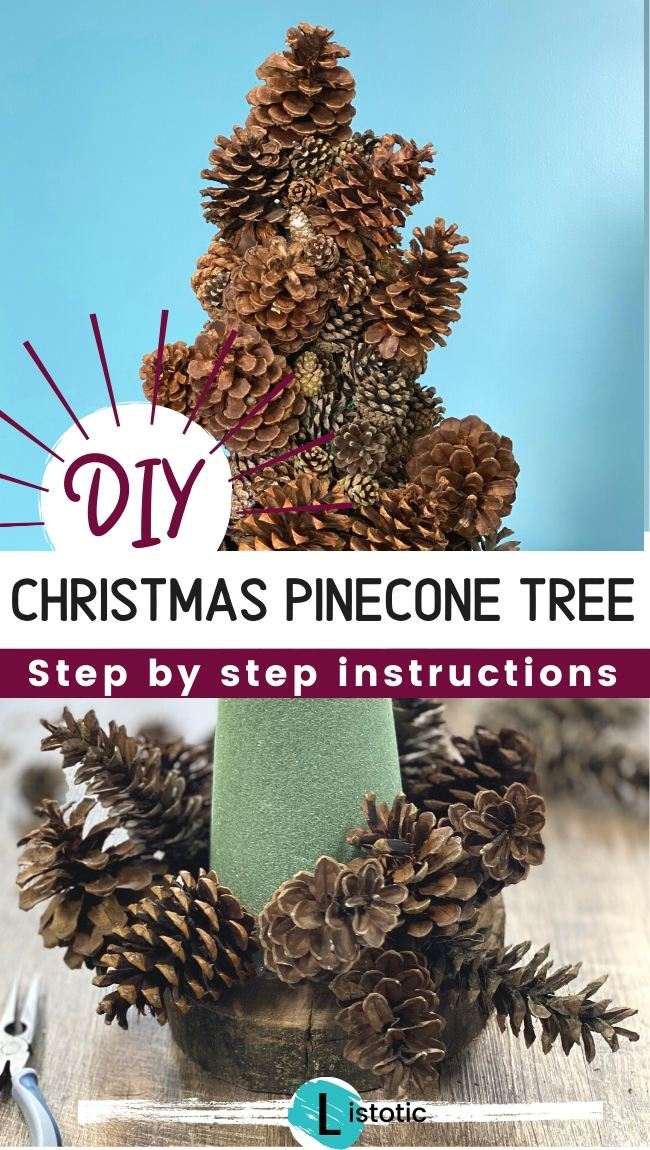
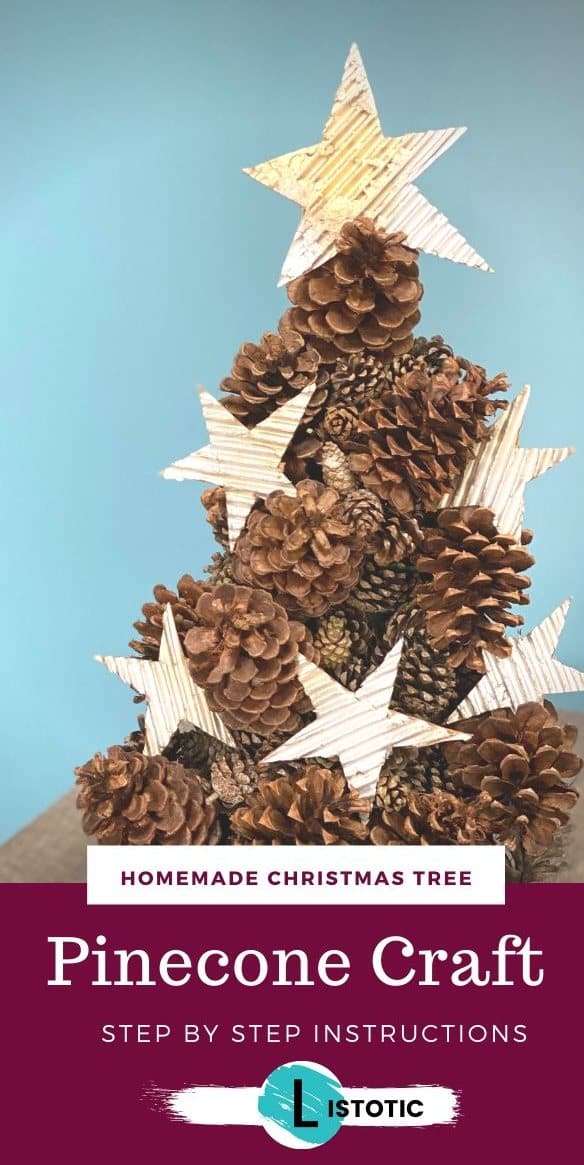
Rustic DIY Pine Cone Christmas Tree Craft
Are you crafty? You do not have to consider yourself “crafty” to do this pine cone tree craft project for Christmas or any other time of year. You just need to know how to assemble materials and follow directions without getting too frustrated.
This post contains affiliate links. Please see our Disclaimer Policy.
I like to consider myself a crafty person but what qualifies someone as a crafty person? I looked it up and found this definition.
If people call you crafty, they probably mean you are sly and a little deceptive. Then again, they could be saying that you are really good at knitting, beading, and turning old t-shirts into funky pillowcases. – Vocabulary.com
What does any of this have to do with a pine cone tree? I’ll tell you. I did not come up with the idea of making a Christmas tree out of pinecones. That has been done by decorators and craft stores going back centuries. In fact, Listotic has pointed DIY’ers to this tabletop Christmas tree from HGTV for several years.

But what I have added to this pine cone trees are some rustic twists that I believe give me a leg up in the crafty category. These are of course, optional. If you do consider yourself a “crafty” person, feel free to put your own twist to this holiday pine cone Christmas tree craft.
Materials:
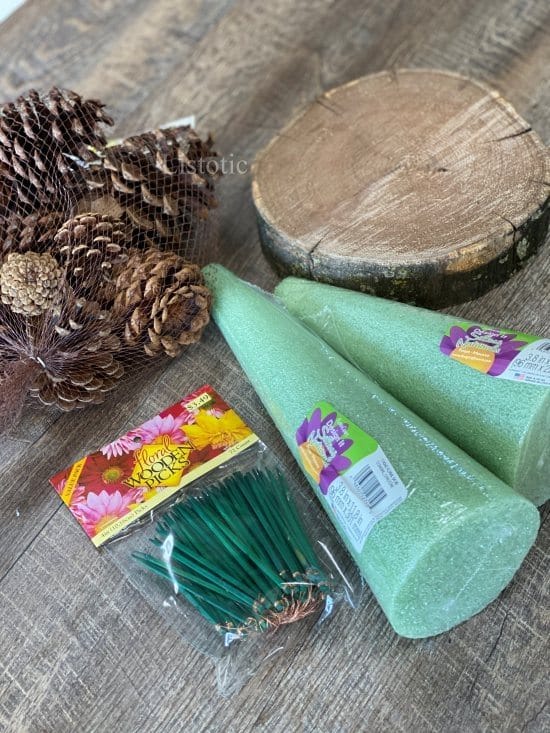
Here are the materials needed to craft your Rustic DIY pine cone tree craft:
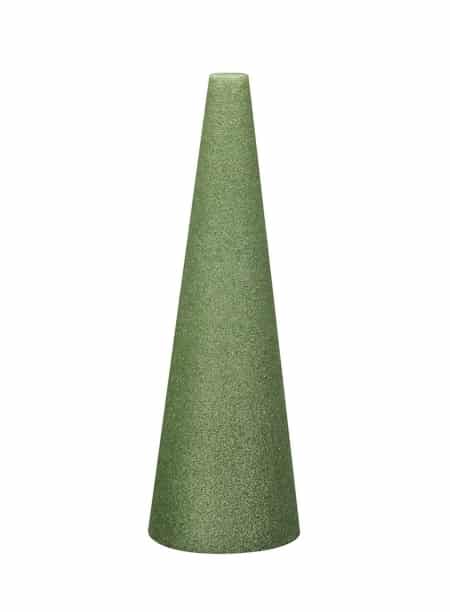
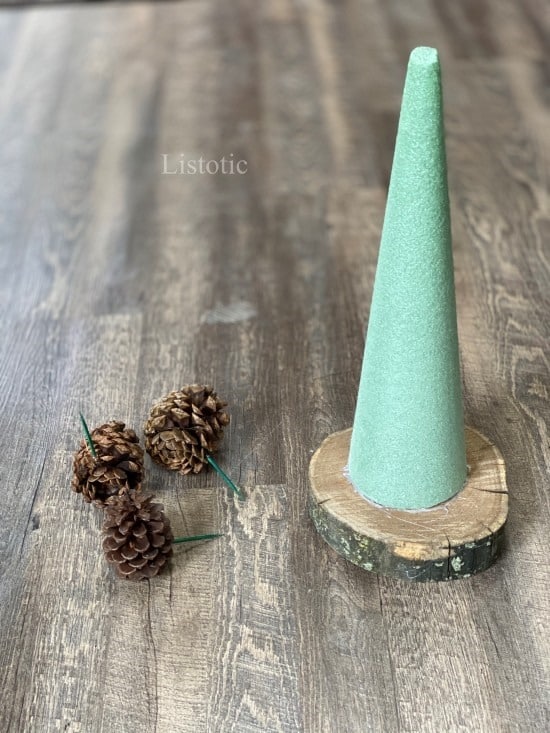
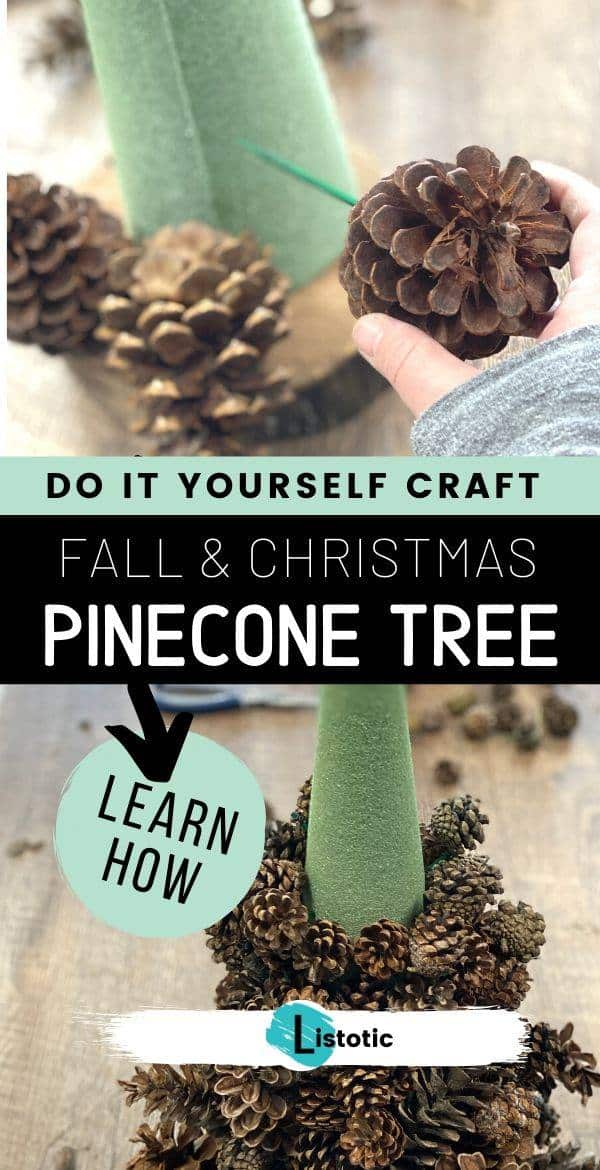
I used a floral foam cone that was 4.8in x 17.8in but you could certainly go bigger or smaller depending on how many pine cones you would like to use.
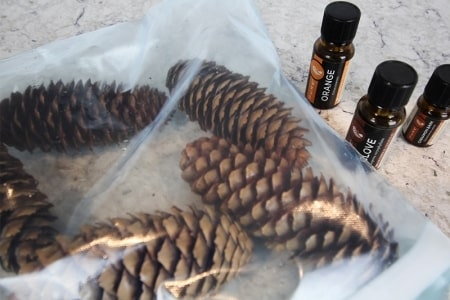
If you have hunted & gathered your own pine cones that is GREAT! Here is a great resource from Courtenay at The Creek Line House for adding cinnamon scent to them! Because who doesn’t love the smell of pine with cinnamon? Be sure to check out all the great tips she has on pine cones.


Check out the Rustic Wood slab Base on this pine tree craft! We can send you one if you would like to pay for the shipping. Please email us at [email protected] if you would like a wood slab similar to the one pictured below.
The base slab of wood is from a red elm tree that had fallen in the Timber near my home many years ago and my husband made a few slabs for me while he was collecting firewood from the fallen tree. 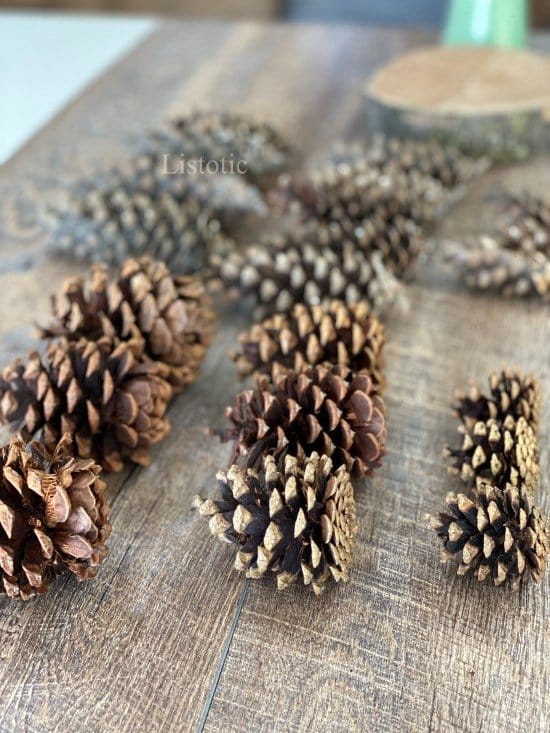
Instructions
1. Clear some workspace, put on some good music and lay out all your materials. You will want to make sure you have a good idea of the different sizes of your pine cones.
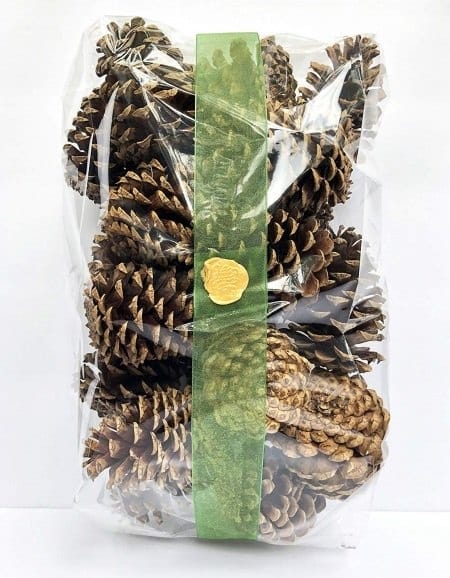
I used a variety of natural pinecones and store-bought pinecones. If you do not have a child or adventurous coworker to collect pinecones for you. You can find bags of pinecones at craft stores or you can even get some cinnamon scented pinecones like these on Amazon.
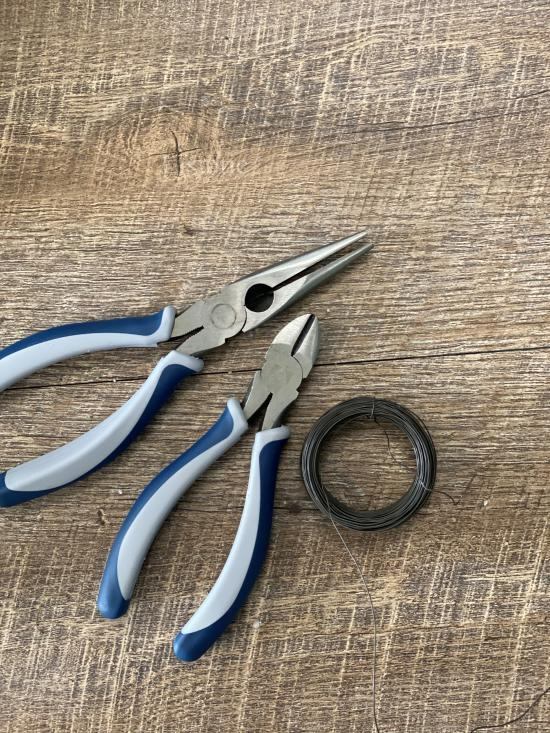
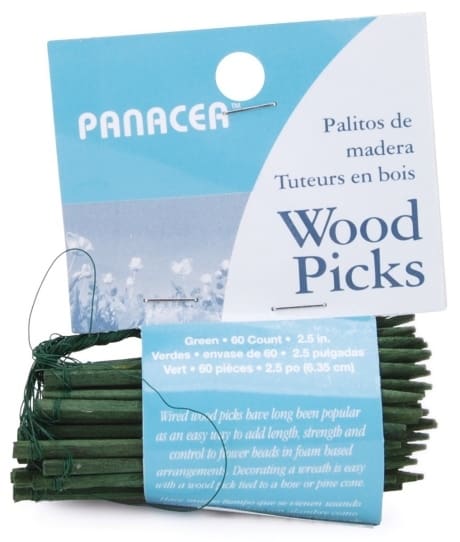
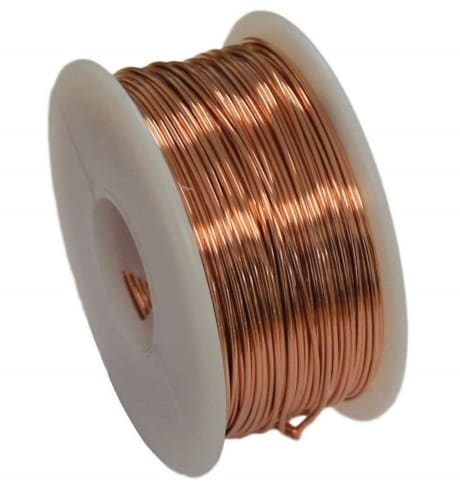
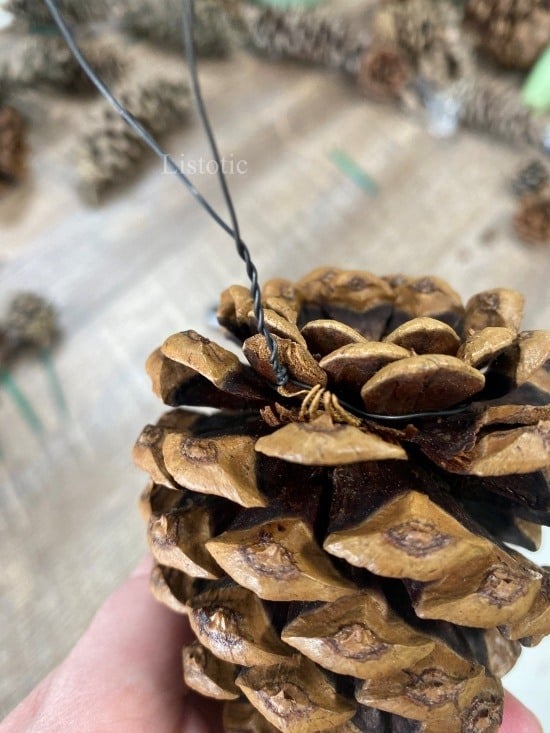
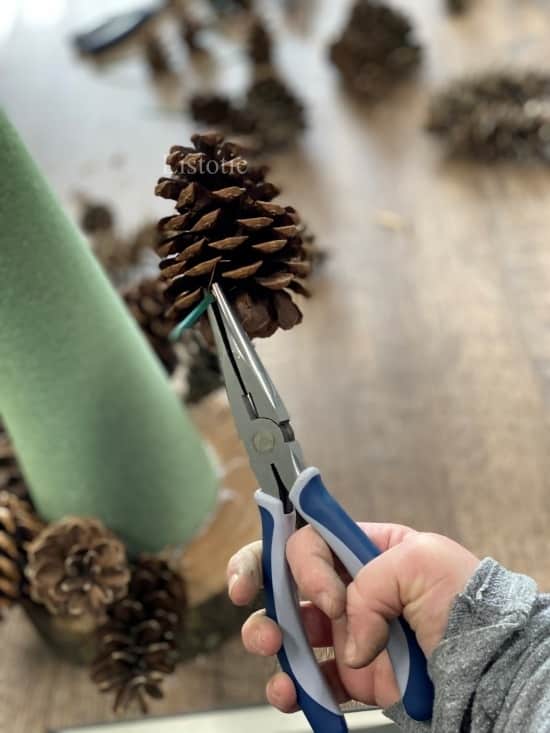
2. Cut and wrap a piece of the heavier wire around each pinecone base. Using the heavy wire (24 gauge) gives you workable wire for the pinecones. Since no two pine cones are alike you will find that some of the pinecones will be easier than others to secure the wire around. Twist the two ends of the wire together so that there is a wire tail on the pinecone to attach to the floral pick.
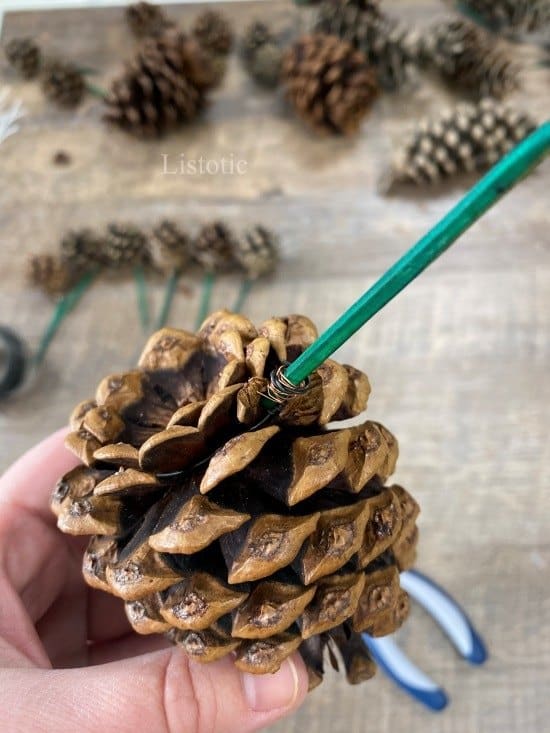
3. Secure the pinecone to the floral pick by tightly twisting the wire to the end of the pick. This involves a lot of twisting of wire. Consider wearing some tight-fitting work gloves for this part. Make sure you twist the wire tightly to pull the wooden floral pick as close to the pinecone as possible.
Remember…Patience! Do You Have Music Playing While You Work on Your Pinecone Tree Craft?
“Patience Willow” (quote from the movie Willow starring Val Kilmer)… Securing the wire to the pinecones will take time.
Securing the wire around the pinecones is the most time-consuming part of this craft project. Get comfortable and make sure you have some music playing.
Once more if you are interested in having a similar wood slab base please email me at [email protected]
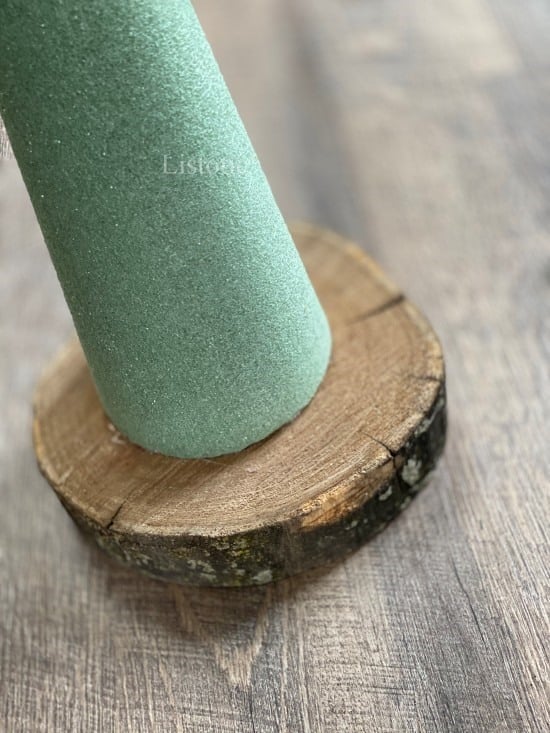
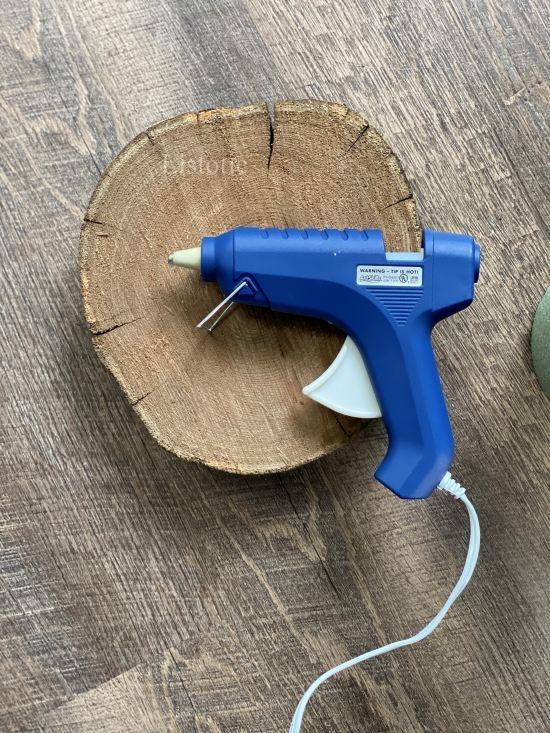
4. Attach the foam cone to your wooden base. Add a generous amount of hot glue to the base of the cone and place it in the middle of the wood slab piece.
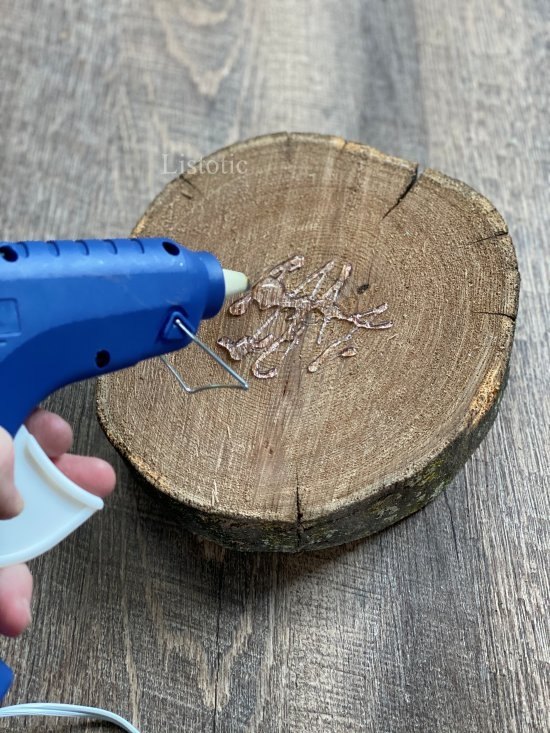
Hold in place until is cooled.
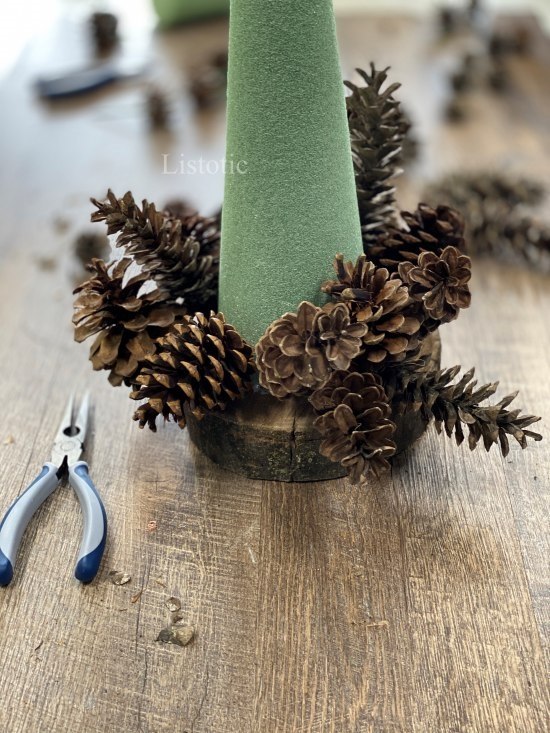
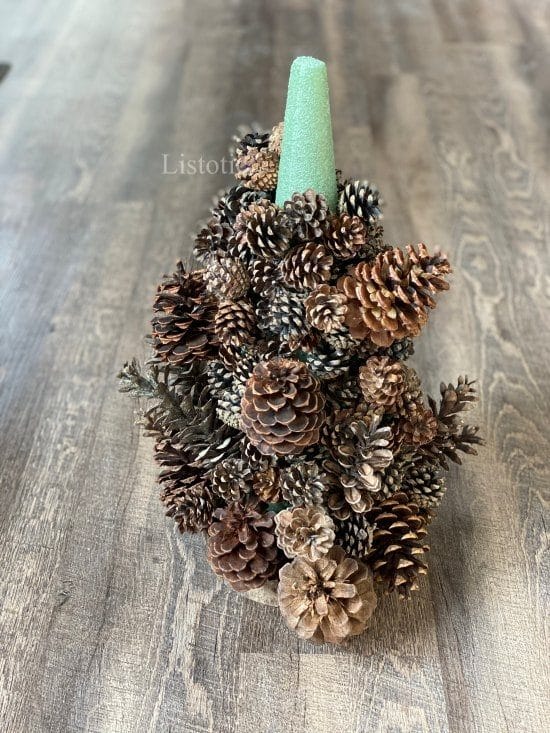
5. Add your pinecones to the foam cone by starting with the largest pinecones first and then fill in empty space with the medium to smaller pinecones. If you feel confident in your crafting abilities go head and start sticking them in. If you are more of a planner then maybe you will want to play around with the different pinecone shapes see where you are going to want to place them on the foam cone. (I just started poking them in without a lot of thought and it worked just great!)
Helpful Tips for Your Pinecone Tree Craft!
- Use the needle-nose plyers to grasp the end of the floral pick and push the pick into the foam. This helps take the pressure of the tip of your fingers as well as lets you get the pick into the tight spaces without your hand breaking off any of the delicate pinecone scales.
- Depending on the size of your foam cone and the size of your pinecones you will add anywhere from 30 to 170 pinecones for your pinecone tree craft. I was using the 4.8x 17.8in floral form cone and added approximately 150 pinecones of all shapes and sizes.
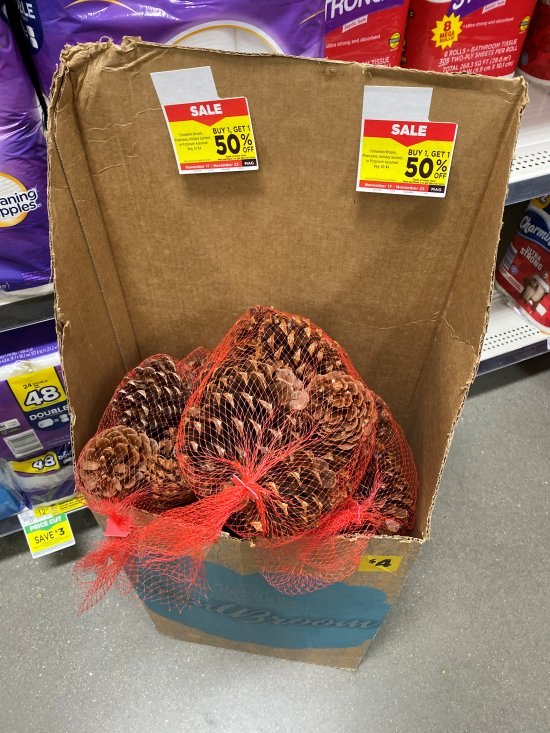
- The DIY pinecone tree required more pinecones than I thought I would need. Luckily I found a sale at the Dollar store.
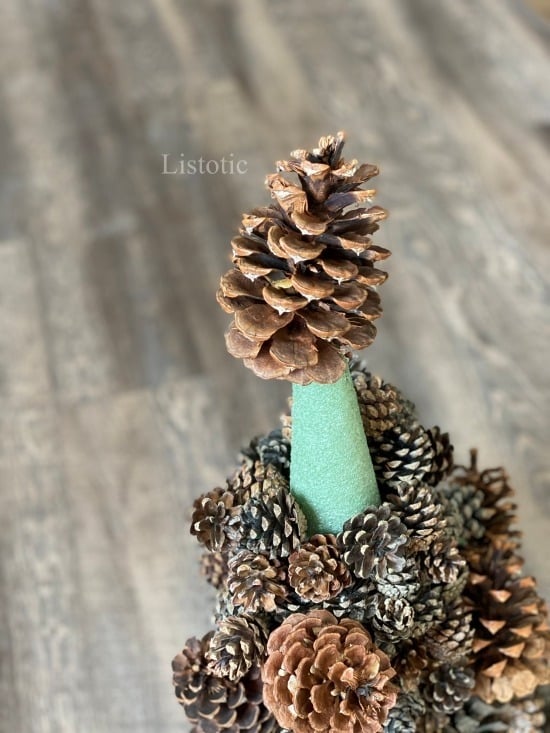
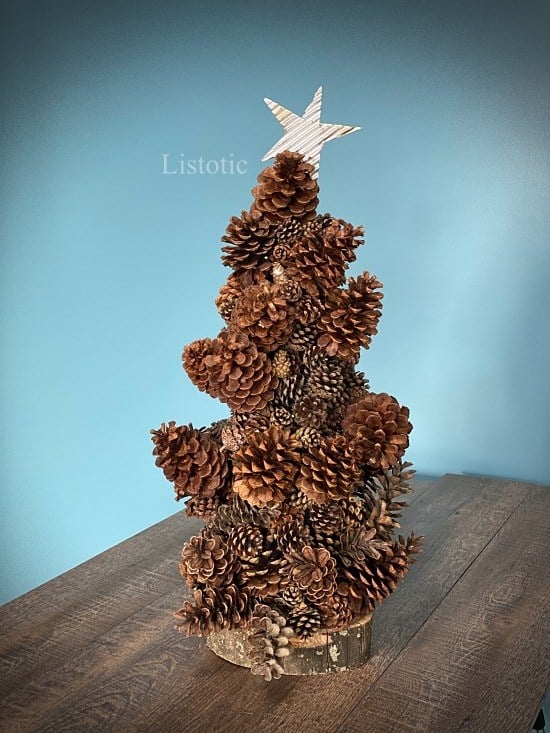
- Save a large pretty pinecone to for the top of the Tree.
Glue Gun or Not?
You might be wondering the same thing I did. Why not just hot glue the pinecones to the foam. Here are some legit reasons why glue does not work as good as using the wooden floral picks.
- The glue won’t hold forever. Using the floral pick you can feel more confident packing this décor away at the end of the season and getting it back out the following year without worrying that the glue didn’t hold up during climate changes in your storage room.
- It would be harder to secure the end of the pinecone to the surface of the foam cone because you would have to hold it on there for a period of time for it to dry and be secured to the side.
- Gluey strings showing. I’m not a fan of the stringy glue that seems to spiderweb itself around craft projects when using a glue gun. Although it’s avoidable through careful glue gun placement… it's still annoying.
With all those reasons why you shouldn’t use a glue gun for your pinecone tree craft, I can think of a few reasons why you should. For instance the time it takes to secure the wire to the pinecone – this process is very time-consuming. So if you find yourself making this Pine Cone Christmas tree craft with glue instead of wire please send me a note: [email protected] and let me know how it went for you. I would love to hear a hot glue success story!
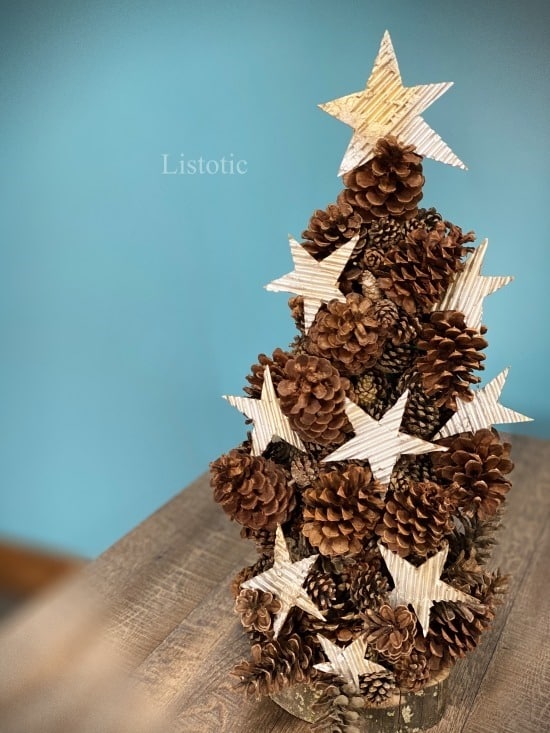
Instructions for Adding the Star or Stars
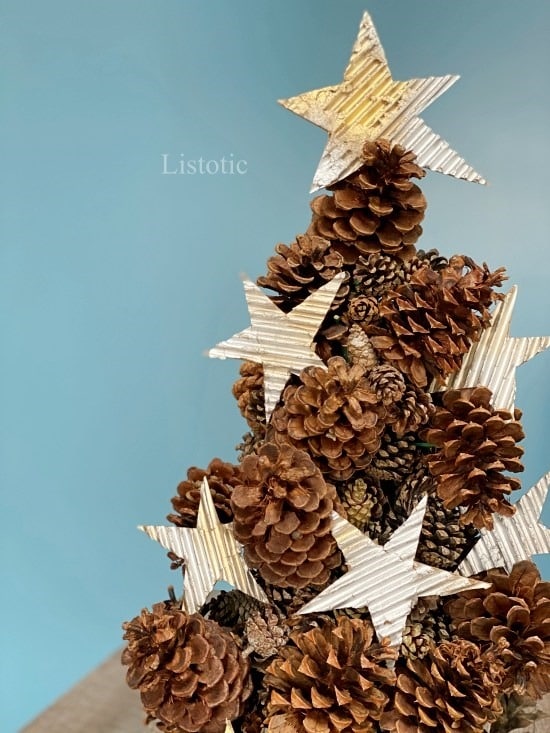
Adding a star is completely optional but just look how it pulls this tree together. The use of the cardboard star adds another rustic yet recycled touch to the pinecone tree.
You can add a single star or multiple stars of different shapes. The beauty of using these cardboard cutouts star shapes is that you can make them whatever size or color you want.
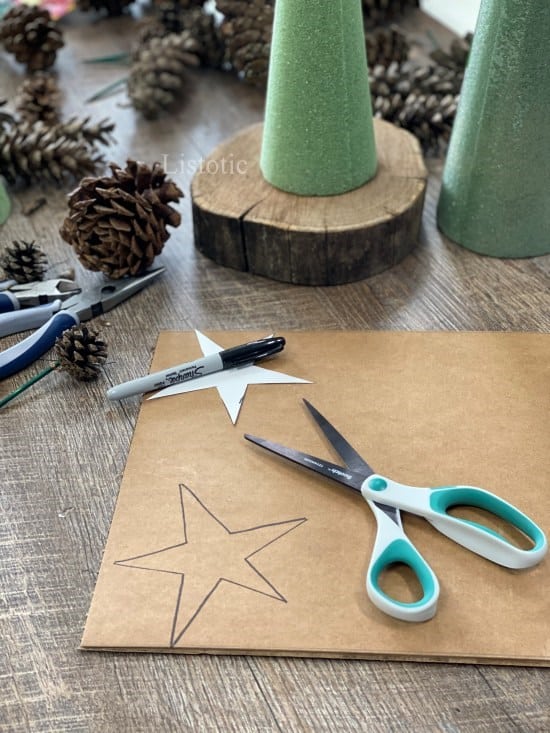
Materials Needed for Rustic Recycled Stars
Cardboard
Scissors
Star shape to trace (get pdf)
Do you want to know how easy these rustic metallic cardboard stars are? Check it out here: (coming soon!)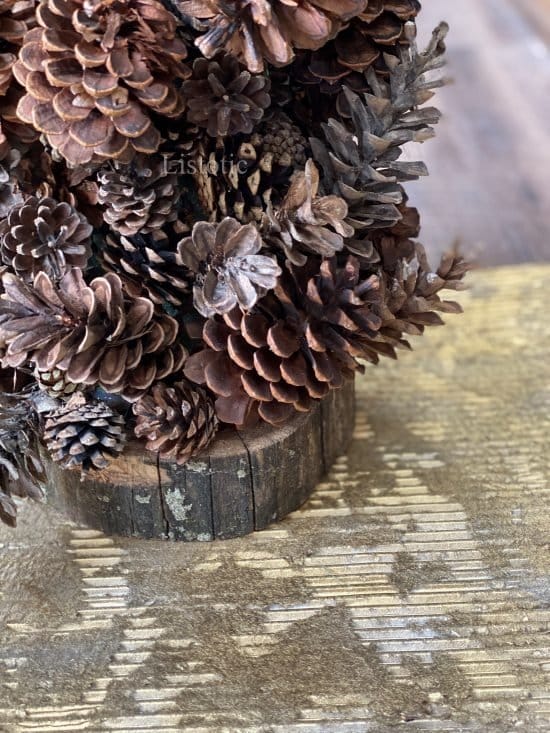
Instructions for Recycled Cardboard Star Ornaments
- Follow the steps: (link to corrugated cardboard mat coming soon)
- Use a star stencil or print this one (Insert pdf of star stencil)

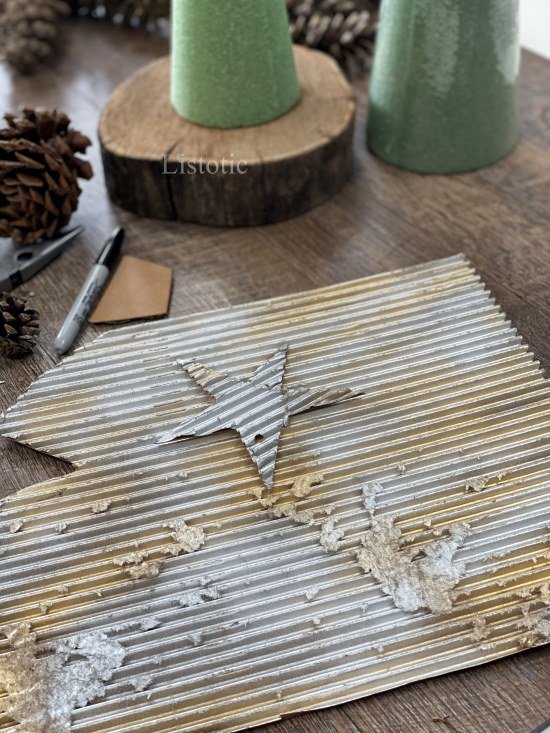
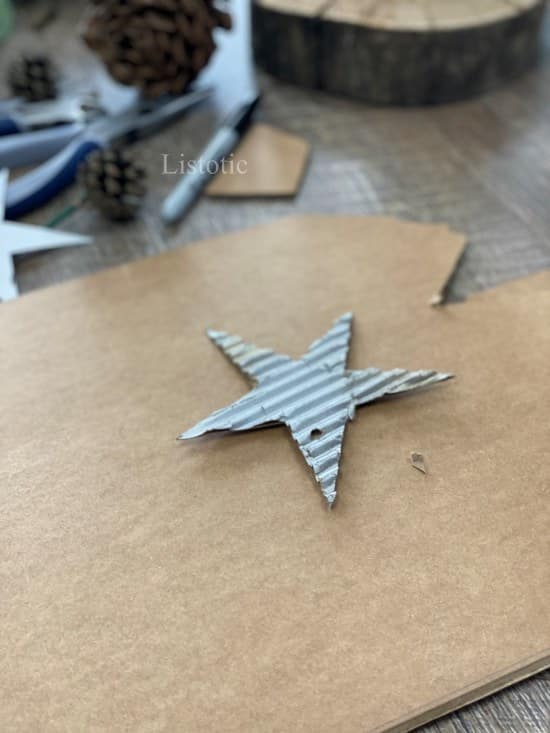
3. Trace the star on the back of your metallic cardboard photo
4. Cut the star out
5. Wedge the metallic cardboard star into the pine cone needles.
Andrea’s Post Project Notes
Like I said at the start of this post I would consider my self crafty. Although I do not believe you have to be crafty to complete this project. I will warn you that you need to know from the start that you must be patient with this project.
I did not get the full effect of what this tree would look like completed until the final touches were made. As you put the materials together don’t get frustrated if it isn’t looking right. Just keep going! I’m not going to sugarcoat it; there are some tedious parts to this pine cone Christmas tree project but nothing that requires an ultra-special skill set. Crafty or not – stick to it and you’ll have a gorgeous DIY Pinecone Christmas Tree craft that you can set out for future holiday seasons!
You Might Also Like

Bath Goodies In A Washcloth
What a unique way to package up a few bath goodies!