Last Updated on November 4, 2021
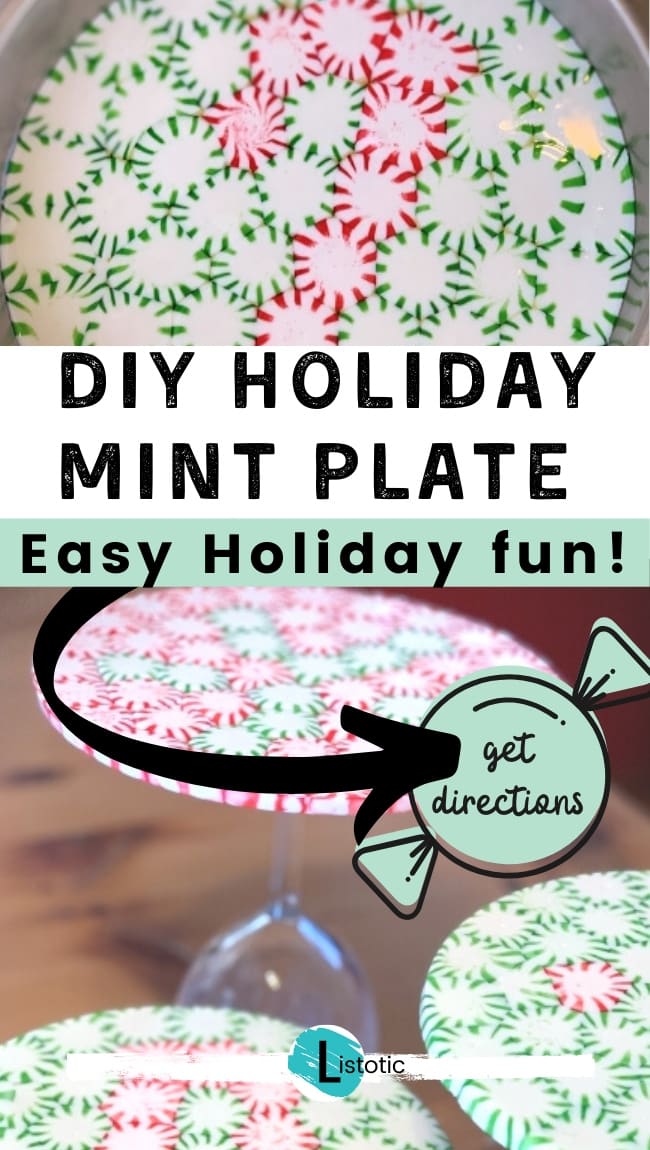
Amaze your craft group, kids, and in-laws with this super easy and fun melted holiday mint plate. This project is so easy, cheap and quick! Kids and adults of all ages love creating this magical holiday plate. I would do this DIY melted holiday mint plate at the nursing home; from start to finish we would have this project (un) wrapped-up in less than an hour.
Holiday Mint Plate Recipe
- Pam cooking spray
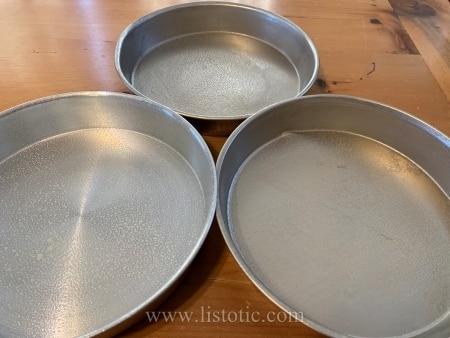
- Round cake pans
- Green and Red Starlight Mints
- 300-degree oven
Step 1. I’ve had the best luck when I sprayed the pans with a little bit of cooking spray. I have forgotten before, and it has still worked to get the holiday mint plate out. But, I’ve also had it happen where I have to work so hard to get the melted plate out that it has broken in the process – and that is disappointing.
Step 2. Unwrap your mints – I found these mints for $1 a bag at the dollar store so to be on the safe side I purchased 5 bags and had plenty of extra for the candy jar afterward. (psss..no one is looking, go ahead and have one!)
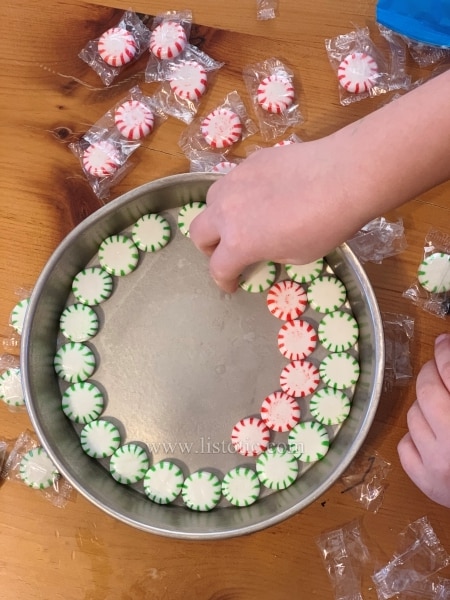
Let your creativity flow designing your holiday mint plate.
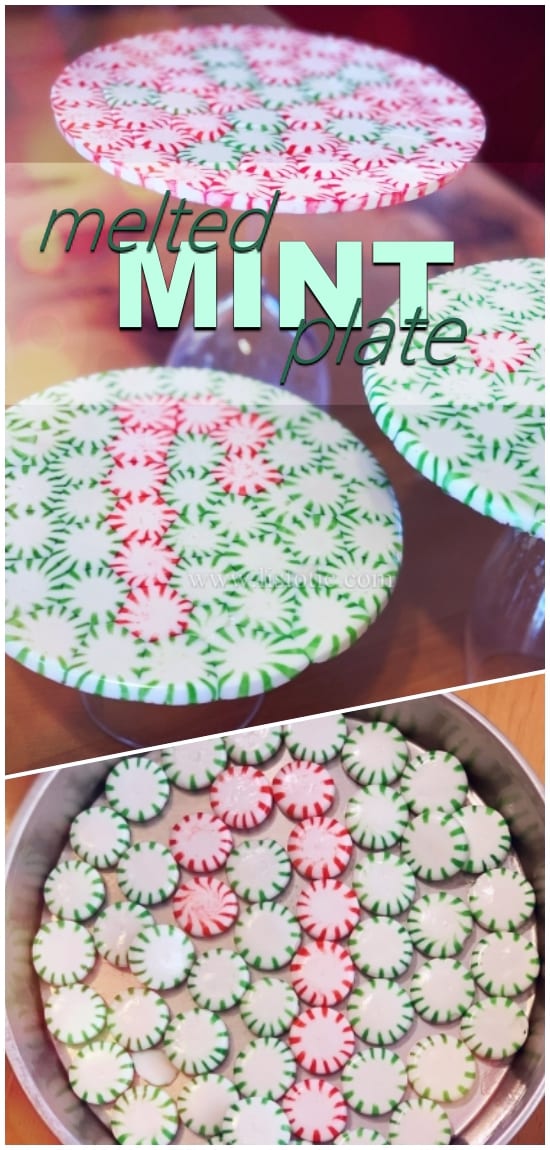
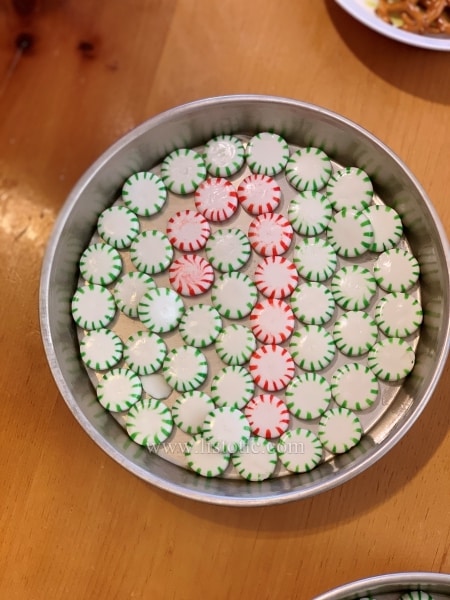
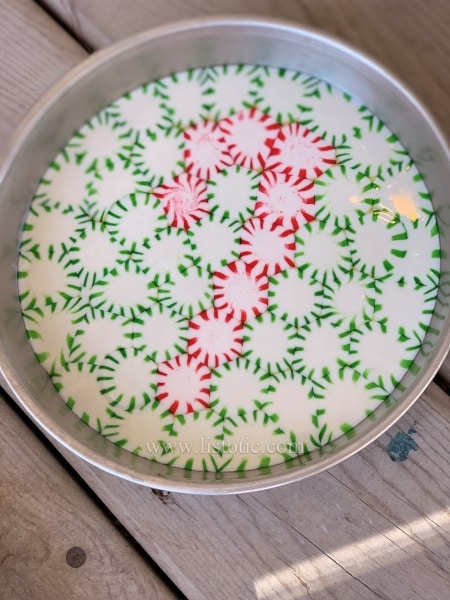
Step 3. Create a design using the different colored mints.
Tip: Fill in all the gaps best you can. Don’t be afraid to break some mints to fill in the gaps. For the most part, if you fill all the large gaps, it should all melt into place.
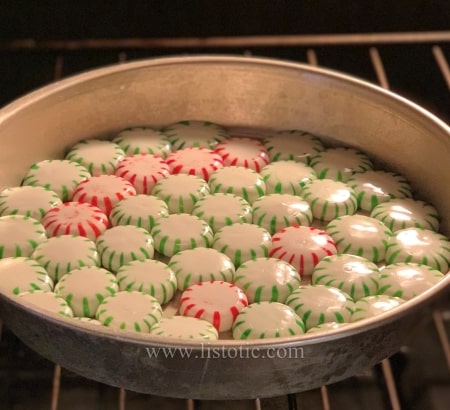
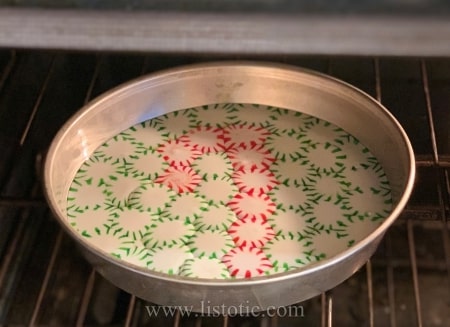
Step 4. Place the pan in a 300 degree oven. Checking every 2 minutes until the candy is almost ready to bubble.
Tip: You don’t want the candy to start bubbling, but you need them to get hot enough so your holiday mint plate will stay together. This process should be about 8 minutes give or take.
Step 5. Let it cool. I like to set the hot pan on the ground outdoors to cool (I’m typically doing this craft in Iowa during the month of December). If you aren’t in a hurry, it can cool indoors on a cooling rack. You could also try the fridge or freezer but be careful because it might be more breakable if the candy cools too quickly.
Step 6. Remove the plate from the pan. Once it is completely cooled, you can stretch and wiggle the pan to loosen the plate within. Once it’s loose, place your hand on the top of the holiday mint plate and invert the pan to release the plate onto your hand. I like to have an audience for this part because it looks kind of magical. I get lots of “oohhs” and “aahhhs”!
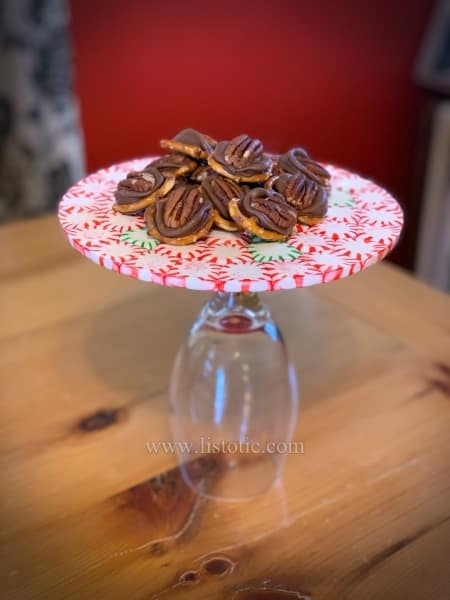
A simple way to display your homemade mint plate is by putting it on top of a cake stand or simply turn a glass, Christmas mug, wine glass or mason jar upside down.
This would make a beautiful Christmas party goodies tray, Christmas wedding cake stand or birthday cupcake stand!
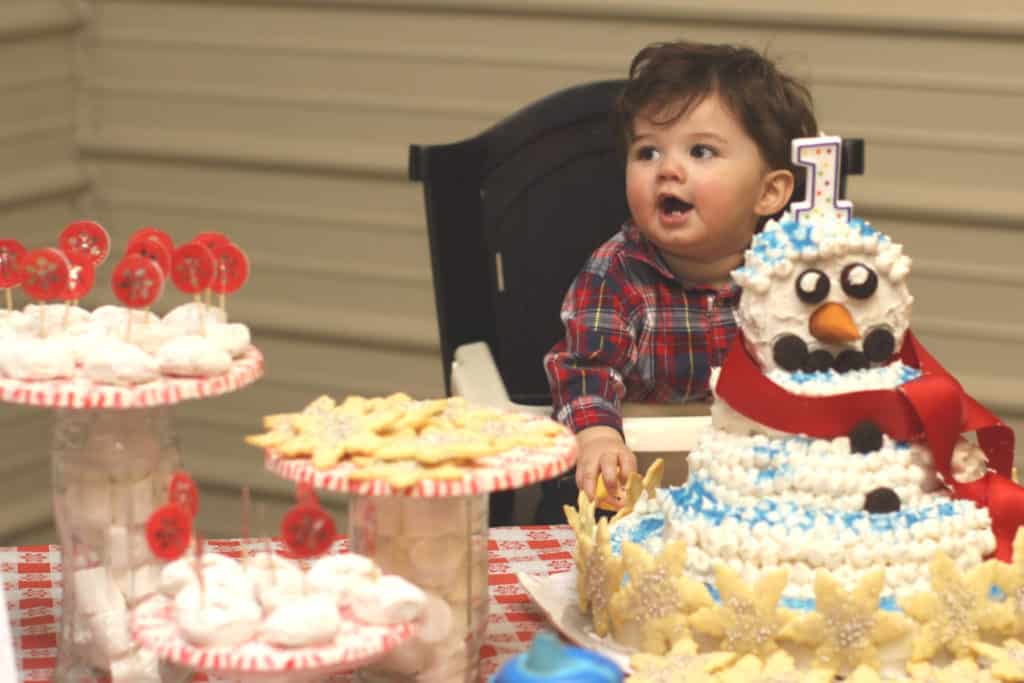
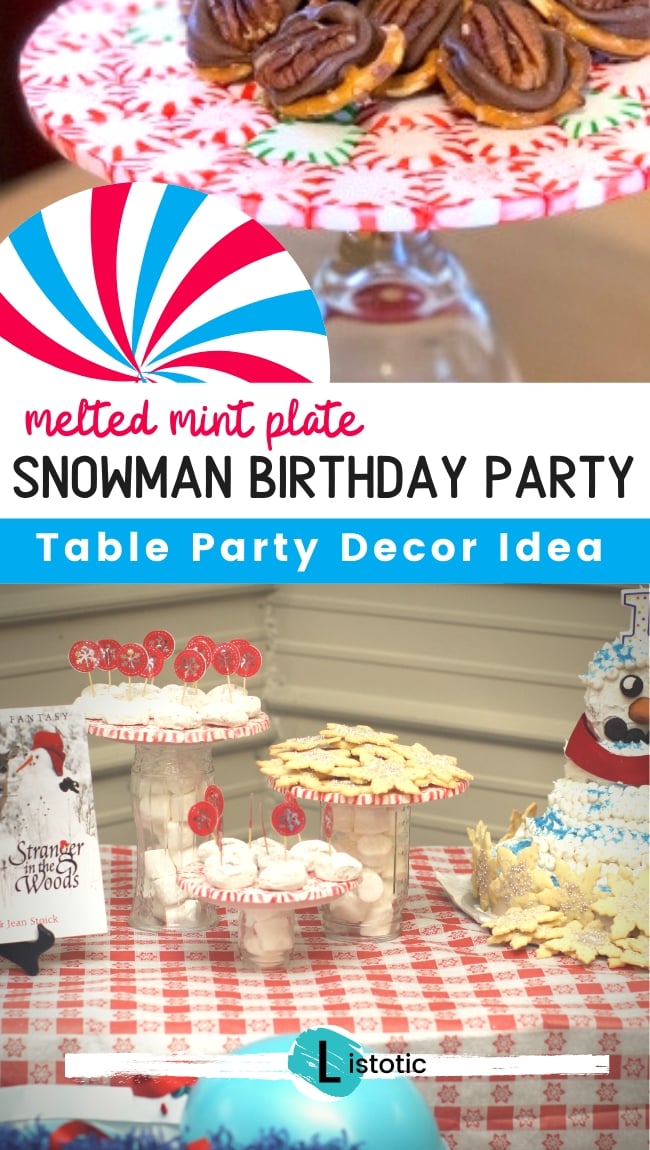
I had lots of fun using these mint plate trays at my son's 1st Birthday Party. It was snowman themed so the red and white mint plates looked festive with powdered sugar donuts, marshmallows, and snowflake sugar cookies.
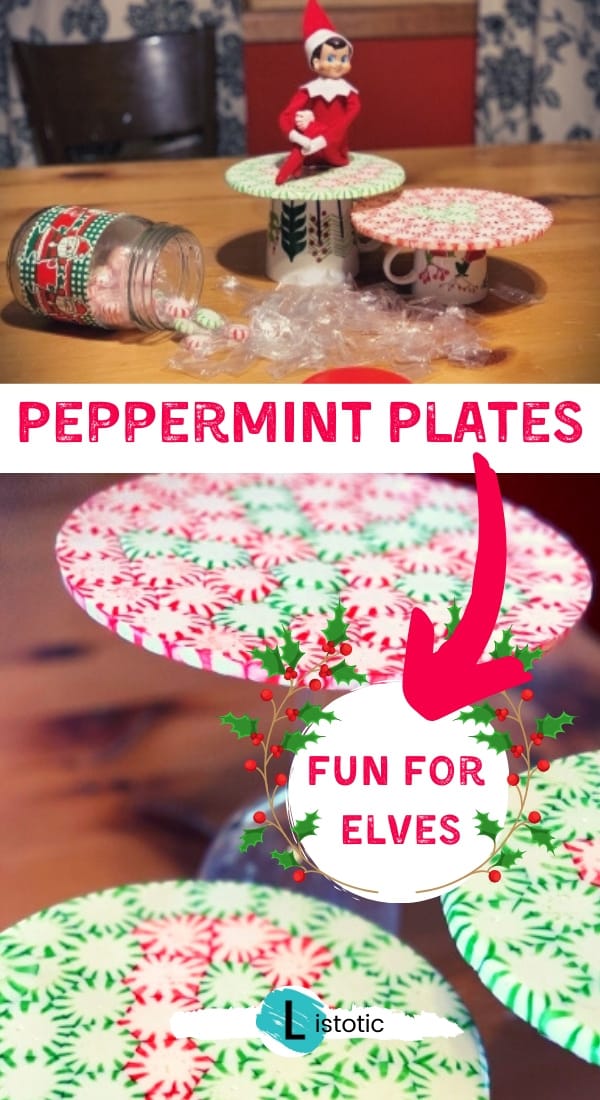
Our Elf-on-the-Shelf, Boo, got involved later that year and made his own holiday mint plate.





 Please refer to our